Clinical Examination · Respiratory OSCE
Respiratory Examination OSCE Guide: A Step-by-Step System for a 7–10 Minute Station
This guide explains how to perform and interpret a complete respiratory examination in an OSCE, step by step. By the end, you should be able to examine the patient systematically, recognize important respiratory signs, distinguish classic patterns such as consolidation, pleural effusion, pneumothorax, COPD and interstitial lung disease, and present your findings clearly to the examiner.
Think of this as your ultimate respiratory examination OSCE guide; focused not just on remembering the sequence, but on understanding what each maneuver means clinically and how to turn individual signs into a coherent diagnosis.
In this guide
- The correct respiratory examination sequence, from end-of-bed inspection to auscultation
- Exactly how to perform inspection, palpation, percussion and auscultation
- High-yield signs such as clubbing, cyanosis, tracheal deviation, wheeze and crackles
- How to interpret common respiratory examination patterns
- When to use vocal resonance and tactile fremitus
- How to adapt the examination for a breathless or unwell patient
- Common OSCE mistakes, examiner expectations and how to summarize your findings confidently
On this page
- The respiratory examination OSCE sequence
- Step 1: Prepare, position and obtain consent
- Step 2: Inspect before you touch
- Step 3: Hands, pulse, face and neck
- Step 4: Inspect and palpate the chest
- Step 5: Percuss the chest properly
- Step 6: Auscultate, and interpret what you hear
- Step 7: Do not forget the back and lateral chest
- Learn patterns, not isolated signs
- Adapting the examination for a breathless or immobile patient
- How to prioritise under time pressure
- How to present your findings to the examiner
- What should you say to complete the examination?
- Common respiratory OSCE mistakes
- Respiratory examination marking checklist
- Surface anatomy: where are you actually listening?
- Respiratory examination OSCE FAQ
- References
- Final principle: examine like a clinician, not a checklist
The respiratory examination OSCE sequence
Use the same route every time until it becomes automatic.
| Phase | What you do |
|---|---|
| 1. Prepare | Hand hygiene, introduction, identity, explanation, consent, pain, position and exposure |
| 2. Inspect | General appearance, respiratory distress, respiratory rate, oxygen and bedside clues |
| 3. Peripheries | Hands, pulse, face and neck |
| 4. Chest: look and feel | Inspect chest, trachea and chest expansion |
| 5. Chest: percuss and listen | Percussion, auscultation and vocal resonance if required |
| 6. Posterior/lateral chest | Repeat expansion, percussion and auscultation systematically |
| 7. Close | Re-cover, thank the patient, summarise and state completion steps |
The important principle throughout is symmetry. Compare right with left at equivalent levels rather than examining one entire lung and then the other.
1Prepare, position and obtain consent
Clean your hands, introduce yourself and confirm the patient’s name and date of birth. Explain what you need to do before exposing the chest. [1,2]
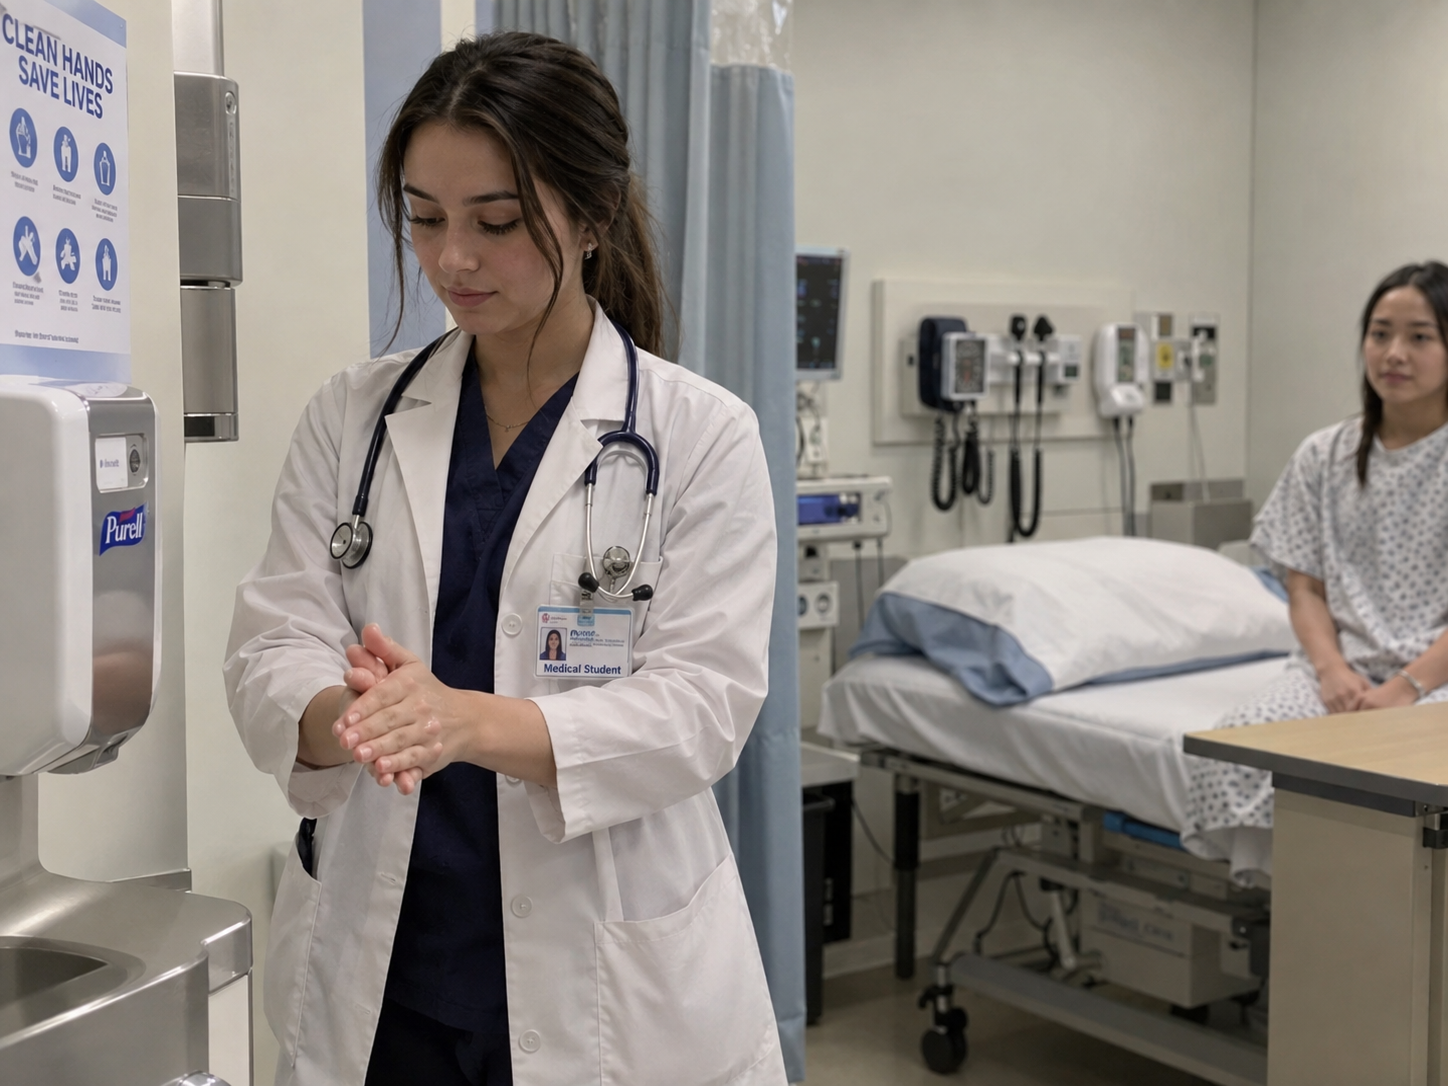
A good opening sounds natural:
“Hello, my name is [Name], and I’m one of the medical students. I’ve been asked to examine your respiratory system today. That will involve looking at your hands, face, neck and chest, and then feeling, tapping and listening to your chest with my stethoscope. I’ll need to expose your chest, but I’ll keep you covered as much as possible. Is that okay? Are you in any pain before I start?”
Position the patient comfortably, commonly at approximately 45 degrees initially. Adapt this if they are significantly breathless. Expose enough of the chest to examine properly while maintaining dignity, using a sheet or gown and following local policy regarding sensitive examinations and chaperones.
Do not force a severely breathless patient to lie flatter simply because you learned “45 degrees” as part of your OSCE routine. The patient’s clinical condition overrides your memorised sequence.
2Inspect before you touch
Stand back and look at the patient first.
Ask yourself: Does this patient look well, chronically unwell or acutely breathless?
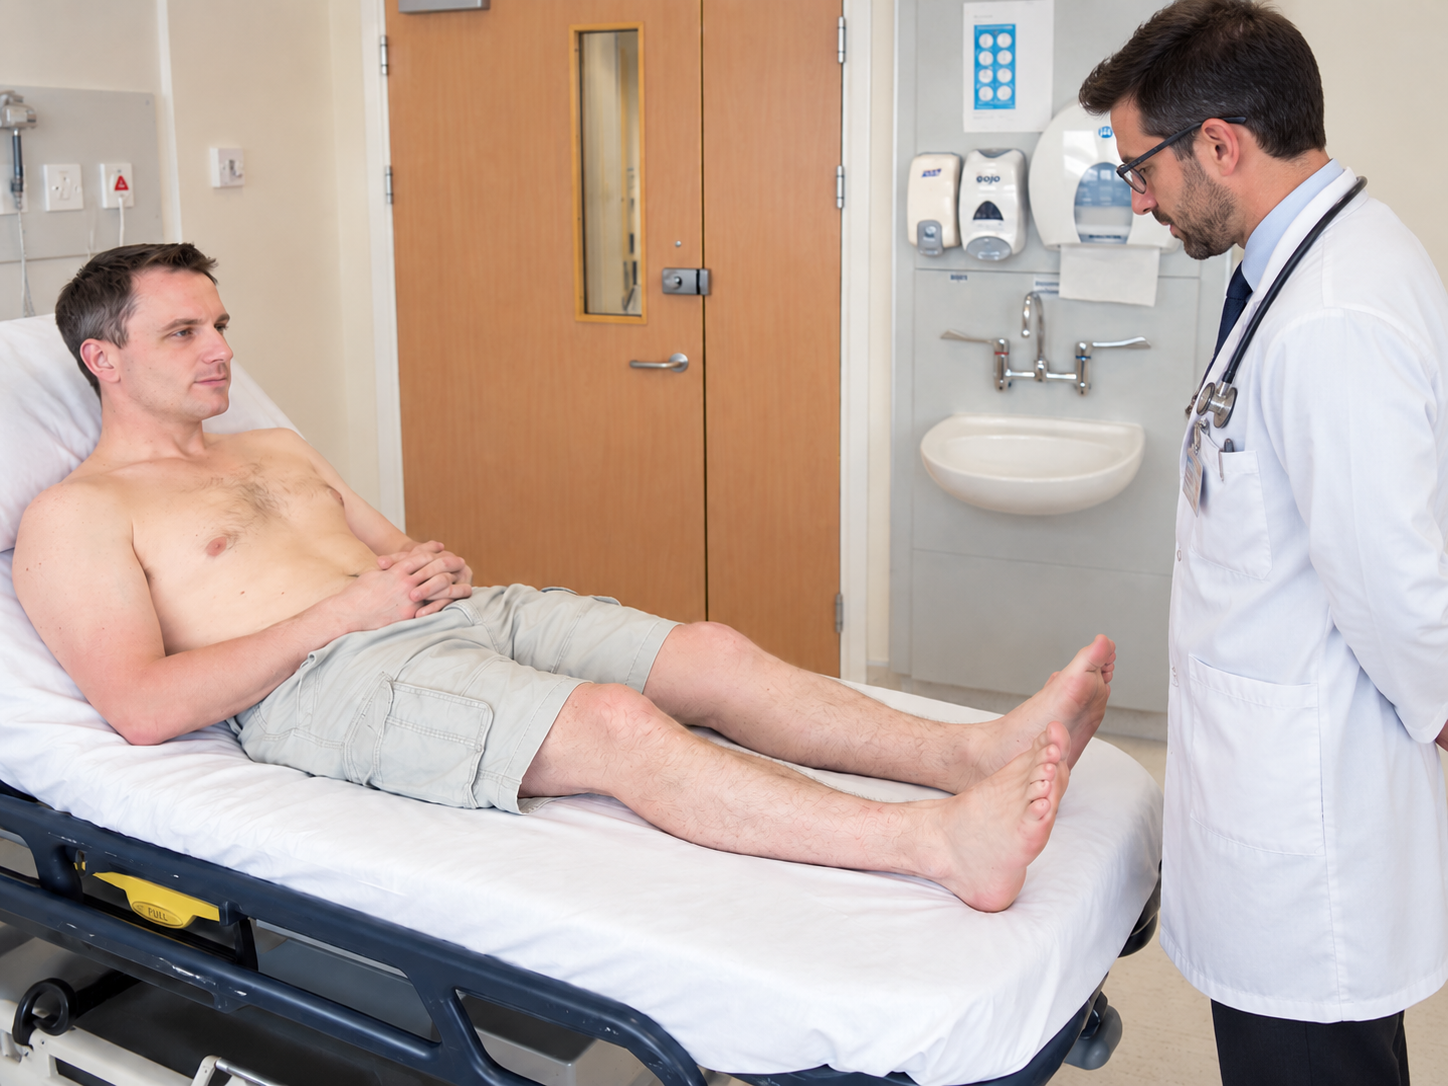
Look for increased work of breathing, use of accessory muscles, intercostal or supraclavicular recession, pursed-lip breathing, cyanosis, cachexia and obvious asymmetry of chest movement. Accessory muscle use at rest suggests increased work of breathing.
Then inspect the environment. Oxygen tubing, inhalers, nebulisers, sputum pots, mobility aids, monitors or a chest drain can immediately provide clinical context. If the patient is receiving oxygen, do not remove it for the examination. Note the delivery device and flow or concentration where available; oxygen saturation must be interpreted in the context of supplemental oxygen.
Measure the respiratory rate
Do not forget the respiratory rate. It is one of the most clinically important observations in a respiratory assessment.
Ideally, count while the patient is unaware that you are specifically observing their breathing, because awareness can alter respiratory rate. A full-minute measurement is more reliable when the patient is acutely unwell, the rhythm is irregular or an accurate value matters. Shorter counts are common in clinical practice and OSCEs, but research shows that 15- or 30-second estimates can miss abnormal rates. [4]
While counting, assess rate, rhythm, depth and effort, not just the number.
3Hands, pulse, face and neck
Hands and arms
Inspect the hands for peripheral cyanosis, nicotine staining and finger clubbing.

To assess clubbing, inspect the nail profile and nail-bed angle; Schamroth’s window test can support the assessment. Respiratory causes include lung malignancy, bronchiectasis, lung abscess and interstitial lung disease. One particularly useful exam pearl is that clubbing is not a typical feature of uncomplicated COPD. In a patient labelled as having COPD, significant clubbing should make you consider another or additional diagnosis, particularly malignancy, bronchiectasis or fibrotic lung disease.
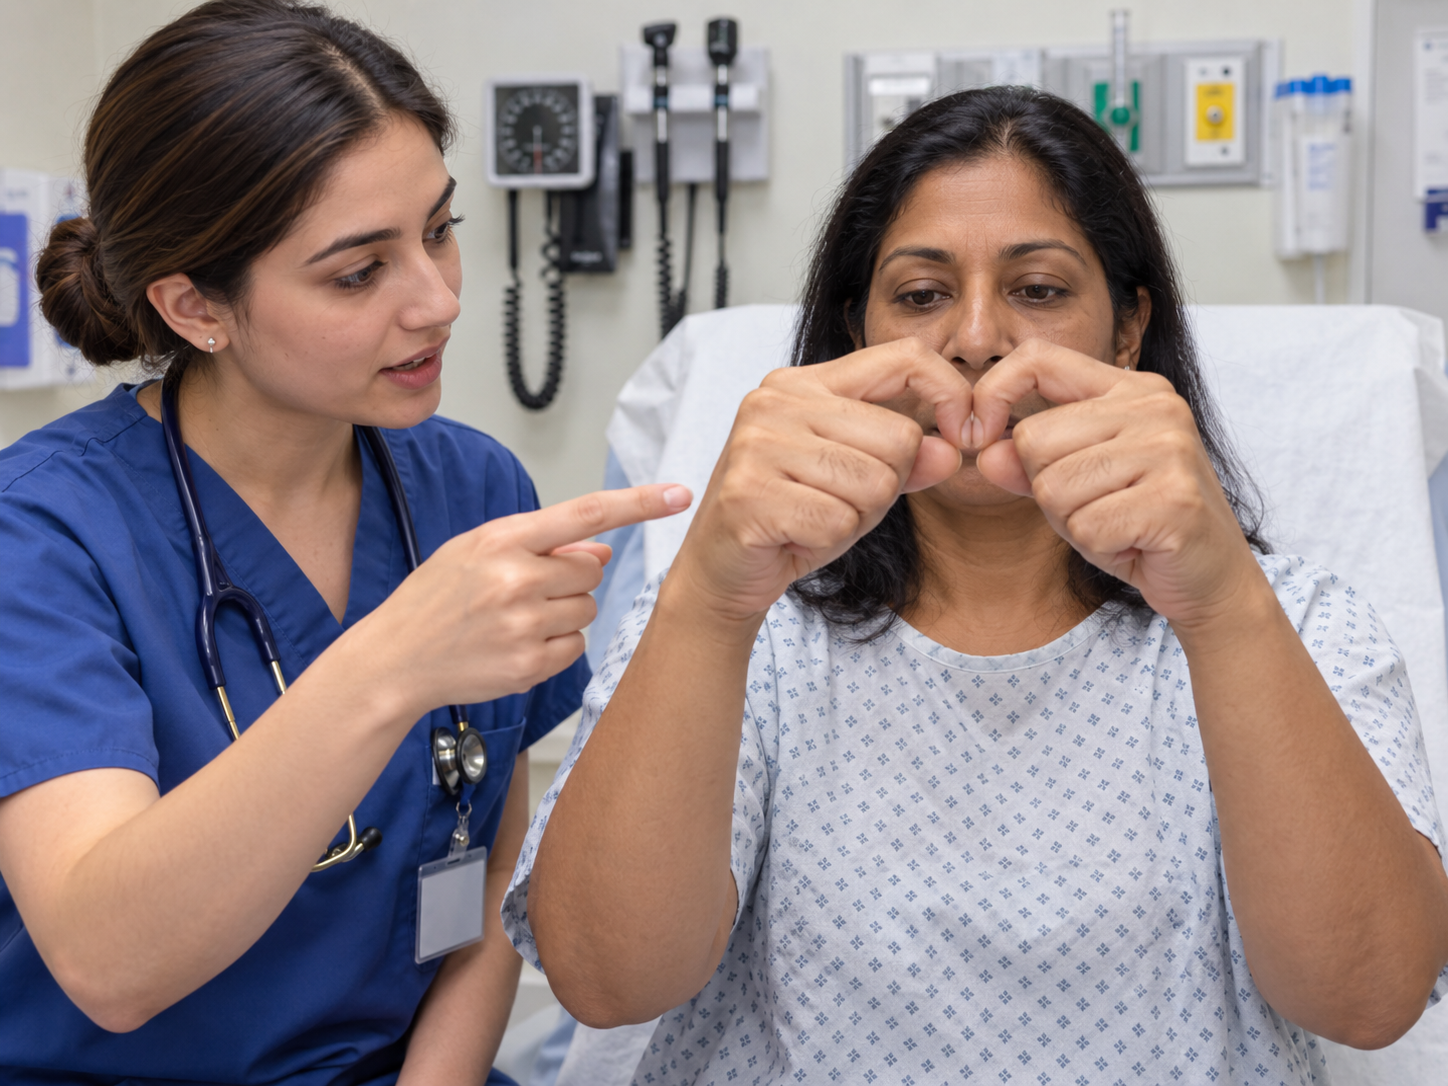
Ask the patient to extend their arms and hands. A fine postural tremor may occur with beta-agonist therapy. Then ask them to extend their wrists with the fingers spread and observe for asterixis. A flapping tremor can occur with hypercapnia, but it is not specific to respiratory disease and should never be interpreted in isolation.
Palpate the radial pulse for rate and rhythm. A bounding pulse is traditionally associated with hypercapnia, but it is nonspecific and should not consume time in a short station.

Face
Look for conjunctival pallor and central cyanosis. Central cyanosis is best assessed around the lips and oral mucosa rather than inferred from cold or bluish fingers alone.
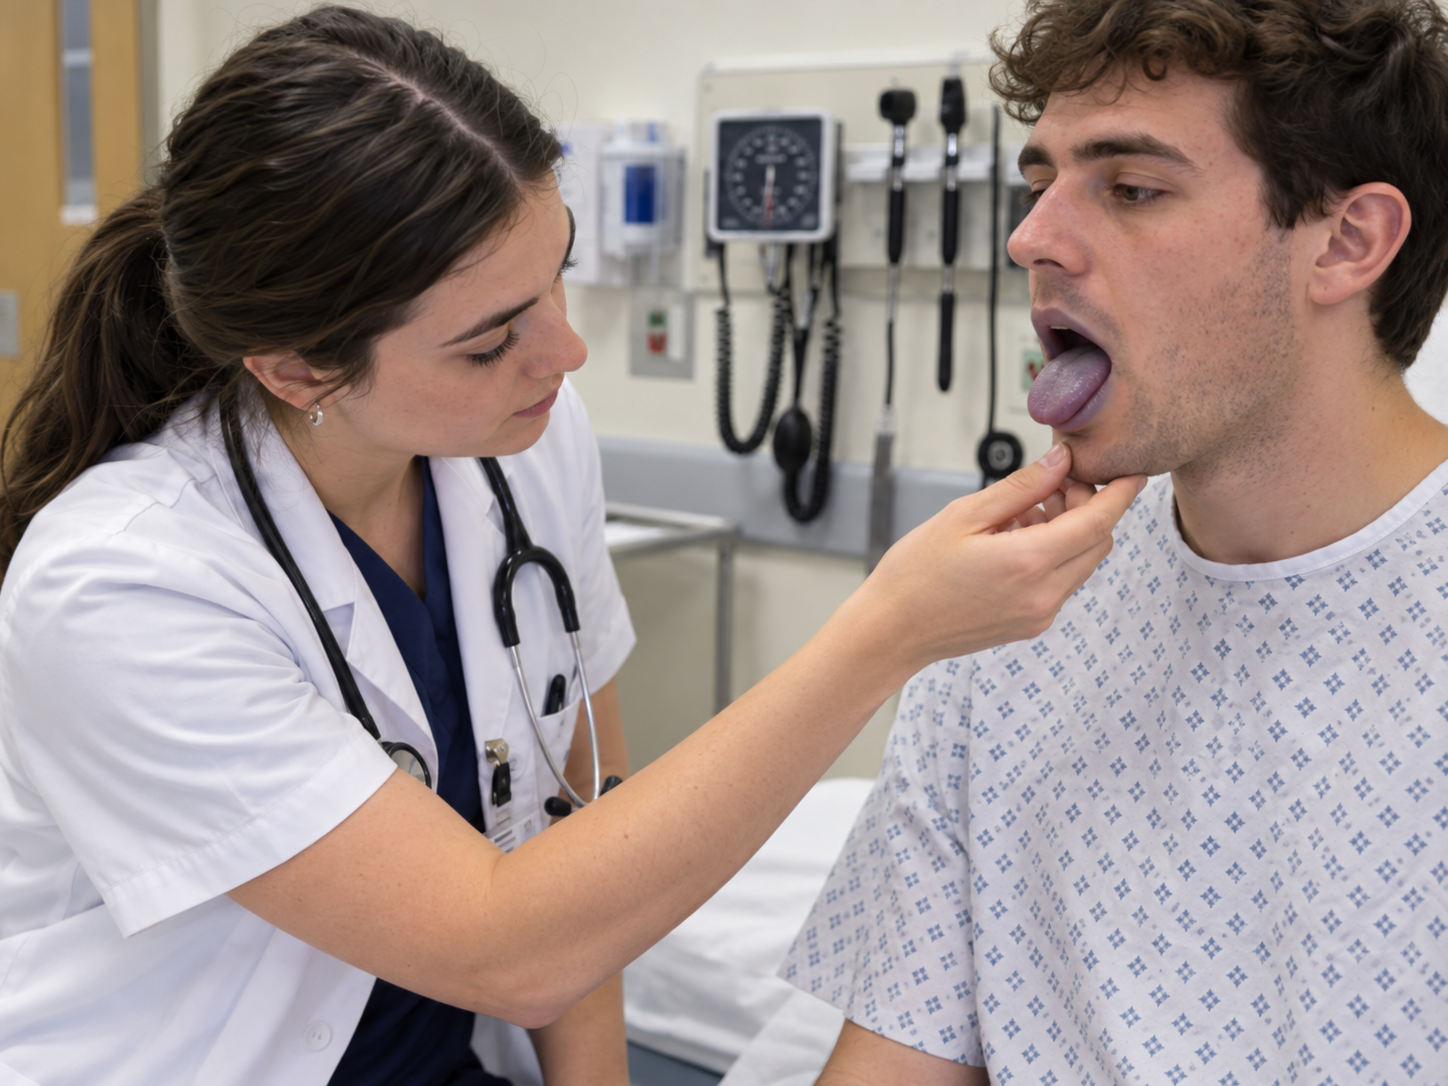
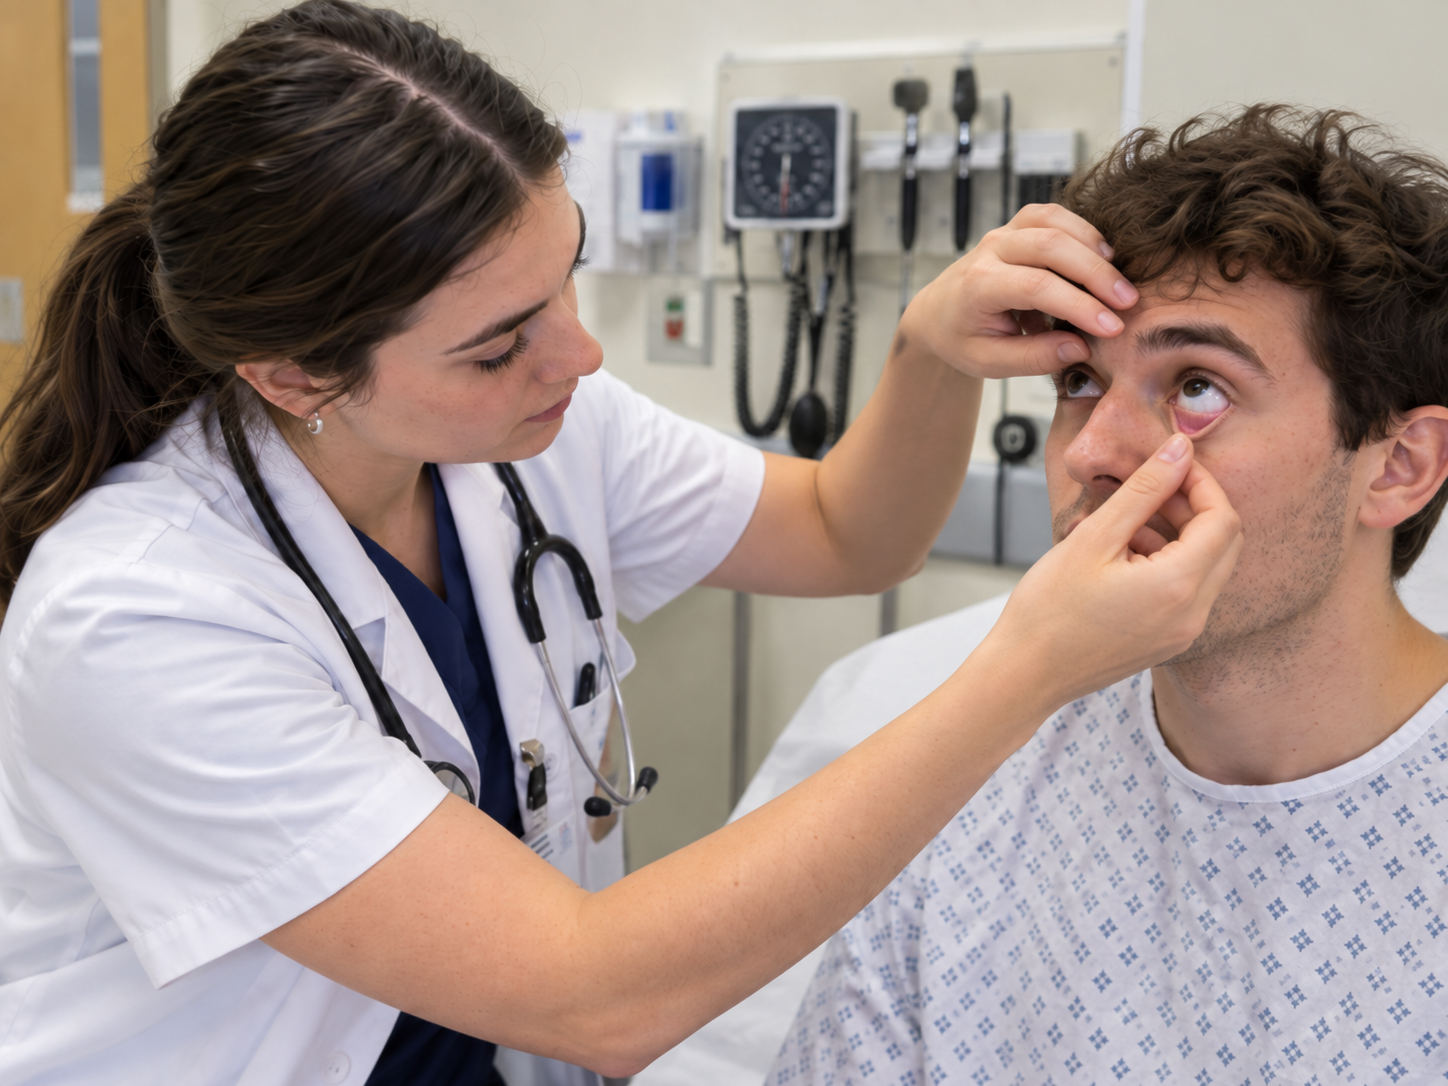
Do not spend precious time searching routinely for rare signs unless the clinical scenario points toward them. For example, features such as Horner syndrome may be relevant in an apical lung tumour but are not a mandatory manoeuvre in every basic respiratory examination.
Neck
Assess the trachea gently for central position. Think about volume and pressure when interpreting deviation: major volume loss can pull the mediastinum toward the affected side, whereas a large pleural effusion or tension pneumothorax can push it away.
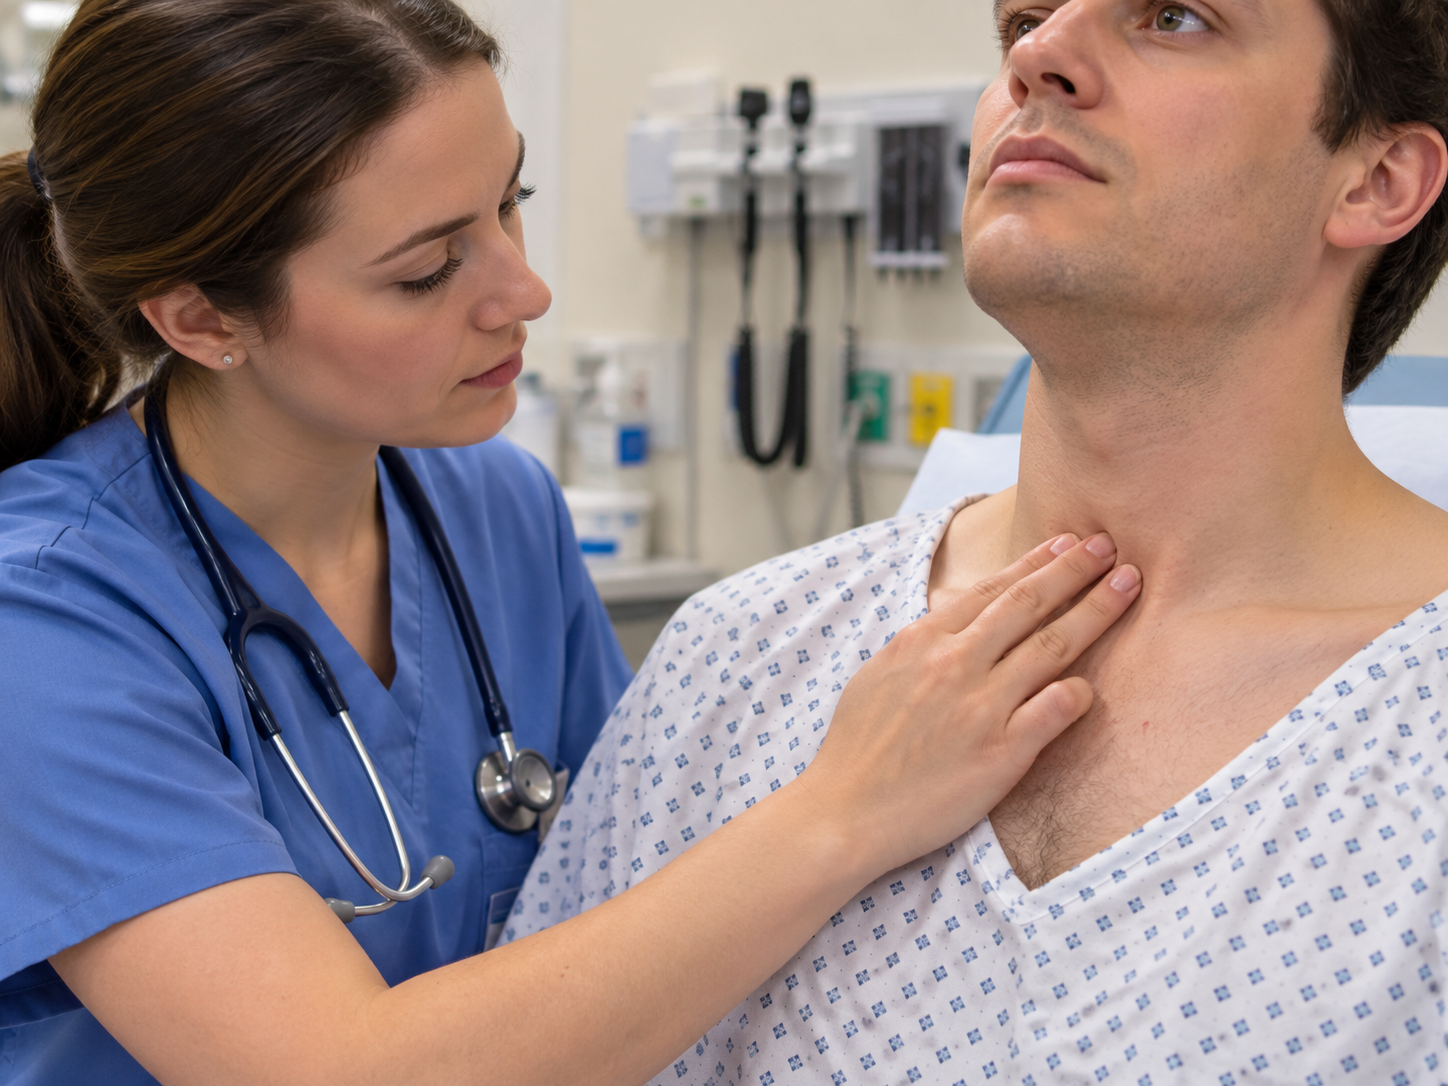
However, do not wait for tracheal deviation before recognising a tension pneumothorax. It is an inconsistent and often late finding; a deteriorating patient with severe respiratory distress and markedly reduced unilateral air entry requires urgent assessment and management.
Palpate for cervical and particularly supraclavicular lymphadenopathy where appropriate. Assessing the JVP can provide evidence of right-sided cardiac pressure overload or cor pulmonale, but in a short respiratory station it should not replace the core chest examination. Cricosternal distance is another traditional sign of hyperinflation taught in some curricula; perform it if your local examination expects it, but prioritise higher-yield manoeuvres first.
4Inspect and palpate the chest
Inspect the chest for symmetry, deformity and scars. Look for pectus deformity, kyphoscoliosis, hyperinflation, thoracotomy or VATS scars, previous chest-drain sites and asymmetrical movement.
Remember your surface anatomy. The anterior chest predominantly gives access to the upper lobes, right middle lobe and lingula, whereas much of the lower lobes projects posteriorly. This is why listening only to the front of the chest is not a complete respiratory examination. [3,8]
Chest expansion
Place your hands symmetrically around the lower chest with your thumbs meeting or approaching the midline. Ask:
“Could you take a deep breath in for me?”
Watch and feel whether both sides expand equally.
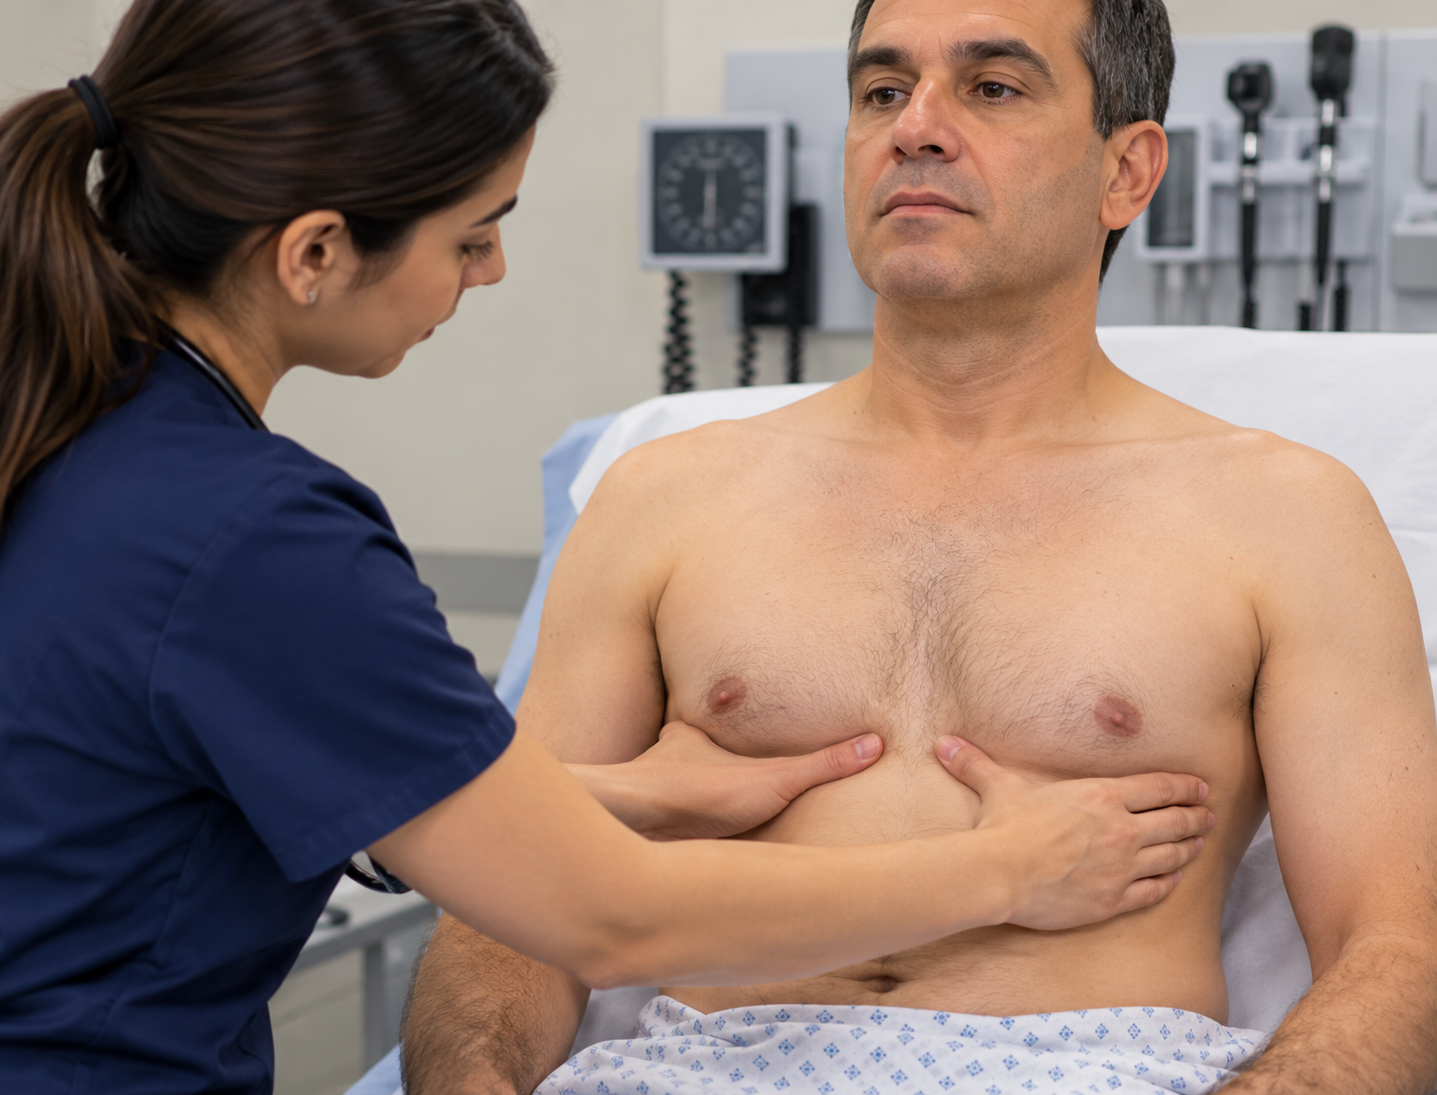
Reduced expansion may be bilateral, as in severe obstructive or restrictive lung disease, or unilateral in conditions such as pleural effusion, pneumothorax or significant consolidation. The important OSCE finding is usually symmetry, rather than trying to prove an exact number of centimetres of movement.
If taught locally, you may also assess anterior expansion, but posterior lower-chest expansion is particularly useful.
5Percuss the chest properly
Percussion assesses the acoustic properties of the tissue beneath the chest wall.
Place the middle finger of your non-dominant hand firmly in an intercostal space. Keep the other fingers off the chest where possible. Using the middle finger of your dominant hand, strike the distal interphalangeal joint with a quick movement from the wrist.
Then immediately compare the equivalent position on the opposite side.
Do not percuss directly over the scapula, thick muscle or breast tissue if an adjacent intercostal space is available. Work systematically from upper to lower zones and include the lateral and posterior chest.
| Percussion note | Think about |
|---|---|
| Resonant | Normal aerated lung |
| Dull | Increased underlying density, such as consolidation |
| Markedly/stony dull | Classically pleural fluid |
| Hyperresonant | Excess air, such as pneumothorax or marked hyperinflation |
Percussion is useful, but it is not a diagnosis by itself. For example, dullness increases the likelihood of pleural effusion, particularly when combined with reduced expansion and reduced breath sounds, but physical signs should be interpreted together and confirmed with appropriate imaging when clinically indicated. [5,6]
How many percussion points do you need? There is no universal magic number. Your goal is to sample the relevant lung fields systematically while comparing equivalent right and left positions. In an OSCE, technique, coverage and symmetry matter more than memorising “six points” or “eight points.”
6Auscultate, and interpret what you hear
Use the diaphragm of the stethoscope directly on the chest where possible.
Ask:
“I’m going to listen to your breathing now. Could you take slow, deep breaths in and out through your mouth? Please let me know if you feel light-headed.”
Listen to at least one complete respiratory cycle at each position and compare corresponding areas from side to side. If the patient becomes dizzy, allow them to breathe normally before continuing.
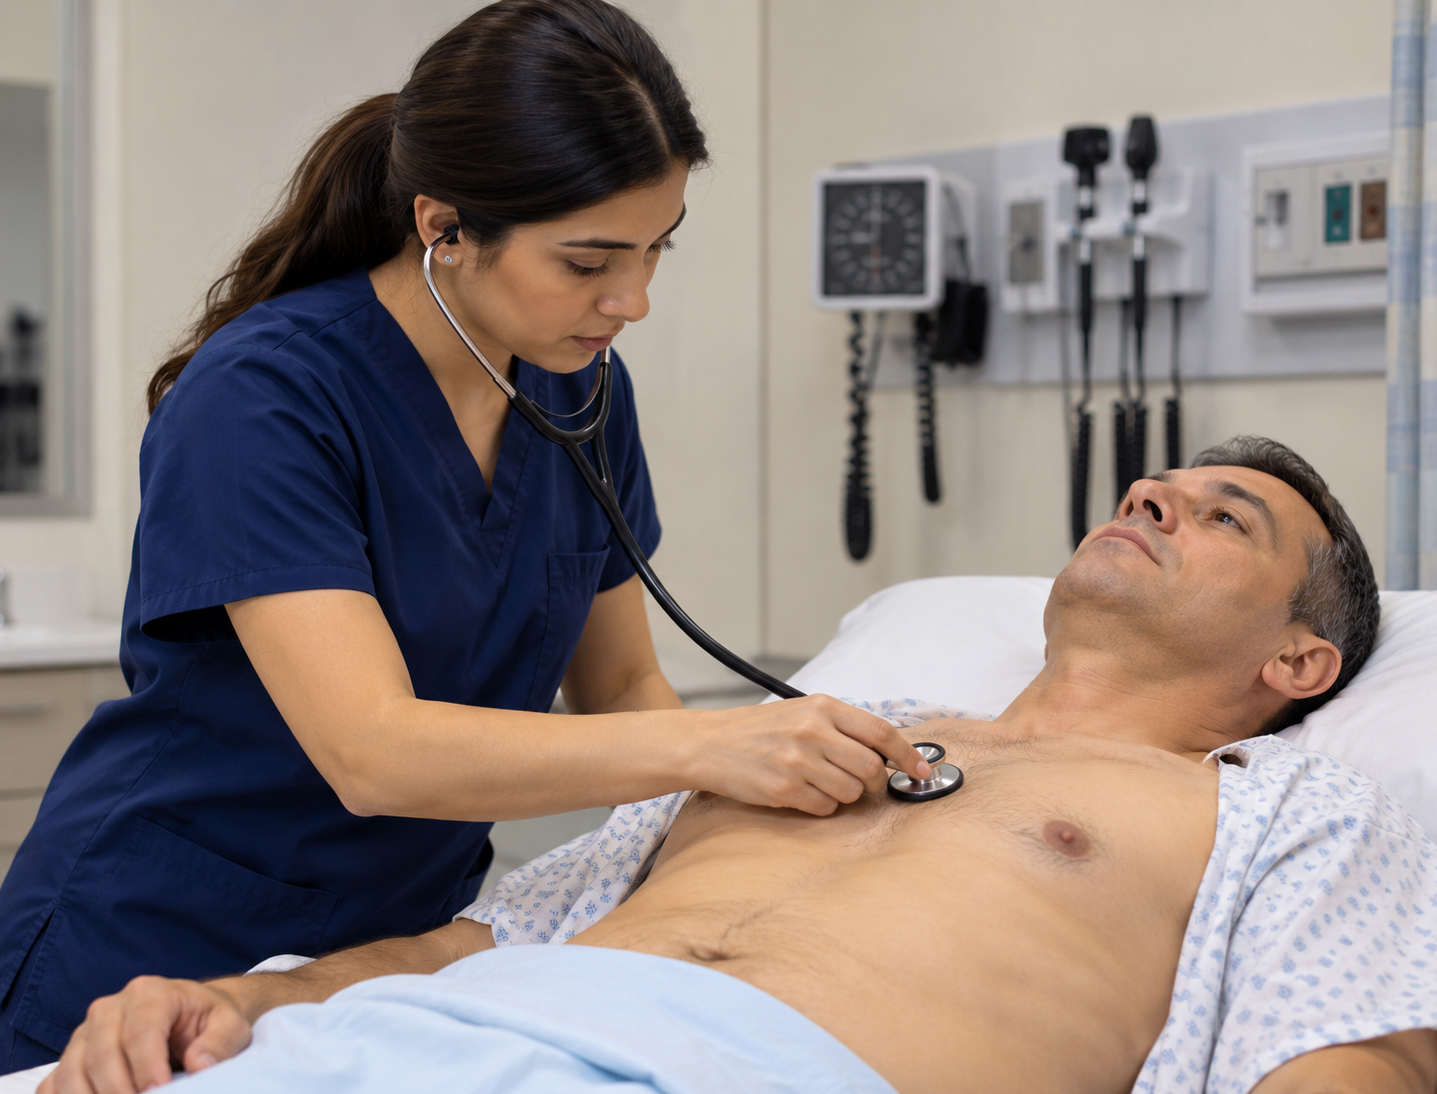
Normal peripheral breath sounds are usually described as vesicular. Assess both the intensity and character of the breath sounds, then listen for added sounds.
High-yield abnormal sounds
Reduced or absent breath sounds can occur when ventilation is reduced or sound transmission is interrupted, including pleural effusion, pneumothorax and severe hyperinflation.
Bronchial breathing heard over the peripheral lung suggests enhanced transmission through abnormally dense lung tissue and classically occurs with consolidation when the supplying bronchus remains patent.
Wheeze is a continuous musical sound produced by narrowed airways. Widespread polyphonic wheeze supports obstructive airway disease such as asthma or COPD in the correct clinical context. A focal or monophonic wheeze should make you consider localised airway obstruction.
Crackles are discontinuous sounds. Fine end-inspiratory basal crackles are classically associated with interstitial lung disease, while coarser crackles may occur with secretions or bronchiectasis. Crackles also occur in pulmonary oedema and infection, so never diagnose from the sound alone.
Pleural rub is a grating sound caused by inflamed pleural surfaces moving against one another.
Vocal resonance or tactile vocal fremitus?
Both assess transmission of the patient’s voice through the chest.
For vocal resonance, ask the patient to repeatedly say a phrase such as “ninety-nine” while you listen over symmetrical lung fields. Increased transmission supports consolidation; decreased transmission may occur when pleural air or fluid separates the lung from the chest wall.
Tactile vocal fremitus tests essentially the same phenomenon by feeling transmitted vibrations with the hands rather than listening with the stethoscope. The two tests therefore provide overlapping information.
For most students, the practical rule is: know both techniques, follow your local mark scheme, but do not automatically perform both when one is sufficient. Evidence for some traditional voice-transmission manoeuvres is variable, and respiratory physical signs should be treated as components of a clinical pattern rather than infallible diagnostic tests. [5,6]
7Do not forget the back and lateral chest
Ask the patient to sit forward if they can do so safely:
“Could you sit forward for me? I’ll support you if you need any help.”
Inspect the posterior chest, assess expansion, then repeat percussion and auscultation from the apices toward the bases, comparing side to side. Asking the patient to fold their arms can move the scapulae laterally and improve access to the posterior lung fields.
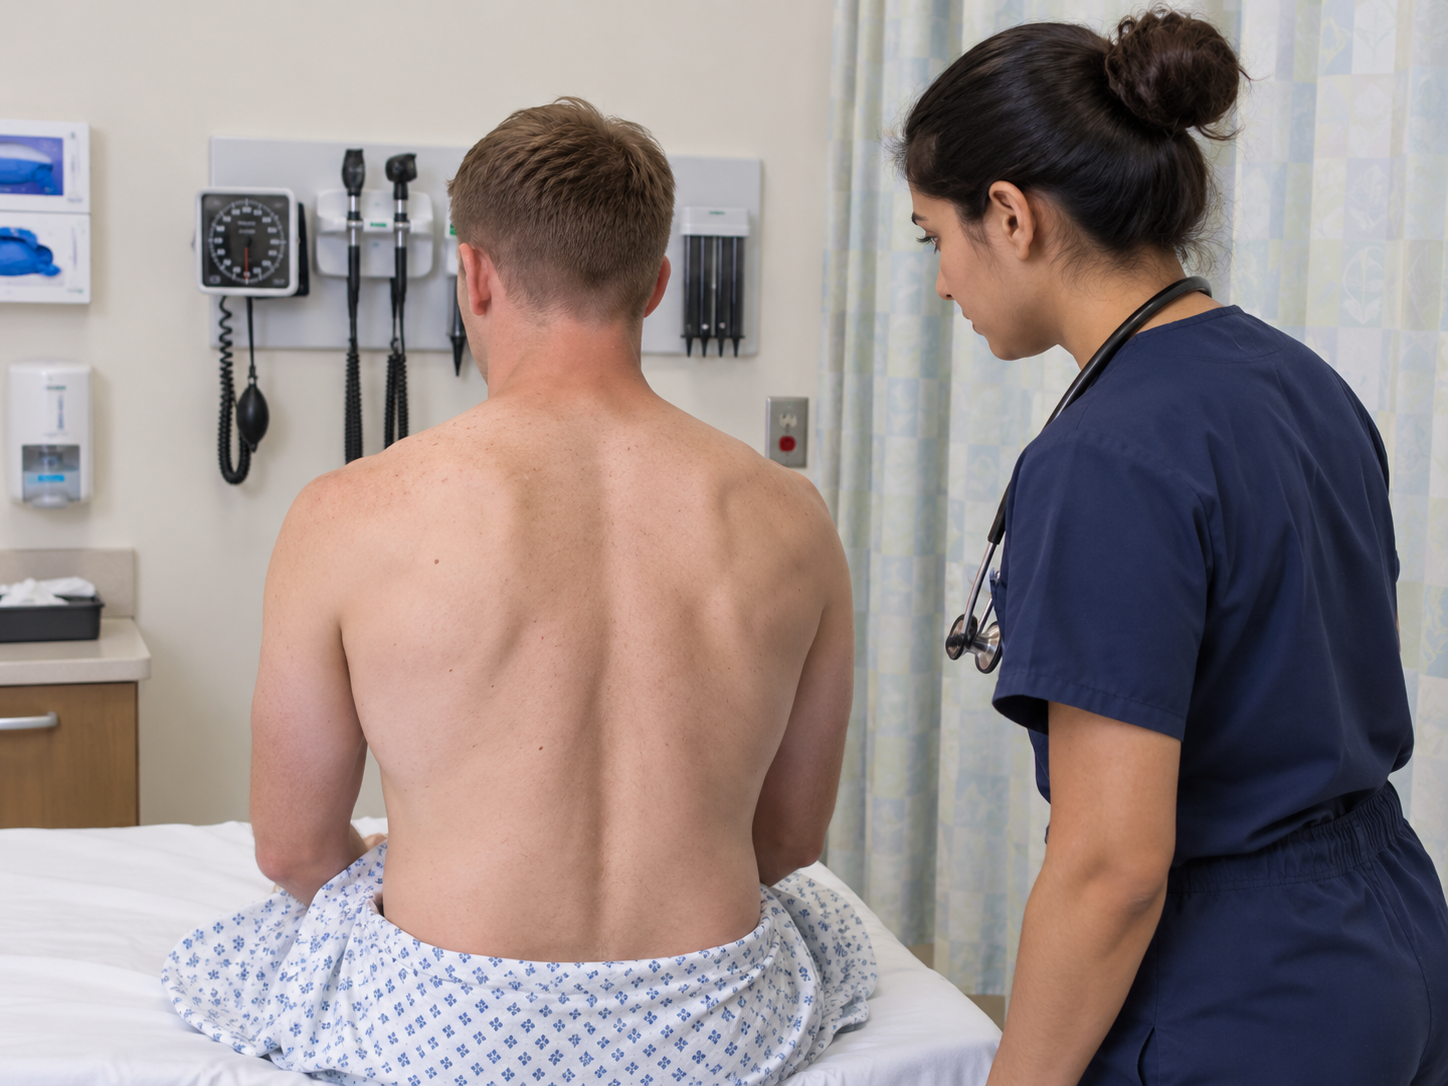
Include the lateral chest where appropriate, particularly when assessing the right middle lobe, lingula and lower lung zones.
If the patient cannot sit forward, do not force them. Examine as much of the posterior and lateral chest as can be reached safely, consider repositioning with assistance if appropriate, and tell the examiner about the limitation.
Learn patterns, not isolated signs
The most useful respiratory OSCE skill is combining findings.
| Condition | Expansion | Percussion | Breath sounds | Voice transmission / added sounds |
|---|---|---|---|---|
| Consolidation | Reduced locally | Dull | Bronchial breathing may occur | Increased vocal resonance; crackles possible |
| Pleural effusion | Reduced | Dull to markedly dull | Reduced/absent | Reduced vocal resonance |
| Pneumothorax | Reduced | Hyperresonant | Reduced/absent | Reduced vocal resonance |
| COPD/emphysema | Often reduced bilaterally | May be hyperresonant | Reduced intensity | Wheeze and prolonged expiration may occur |
| Interstitial fibrosis | Often reduced | Often normal | Usually preserved | Fine end-inspiratory basal crackles; clubbing may occur |
| Bronchiectasis | Variable | Variable | Variable | Coarse crackles; wheeze and clubbing may occur |
These are classic examination patterns, not diagnostic equations. Real patients may show incomplete or mixed signs, and bedside examination alone cannot reliably confirm or exclude many respiratory diagnoses. [5,6]
That explains why consolidation can produce bronchial breathing and increased vocal resonance, while pleural effusion and pneumothorax generally reduce transmitted breath and voice sounds.
Adapting the examination for a breathless or immobile patient
A real patient outranks your memorised sequence. If the patient is significantly breathless, keep them in the position in which they breathe most comfortably; often upright. Do not remove clinically required oxygen simply to create a room-air examination; note the delivery device, flow or concentration where available, and interpret the oxygen saturation in that context. [7]
If the patient cannot sit forward, do not force them. Examine the posterior and lateral chest that can be reached safely, reposition with assistance when appropriate, and tell the examiner what could not be assessed. If the patient is acutely deteriorating, abandon the routine sequence and prioritise urgent assessment, escalation and stabilisation.
A concise examiner statement might be: “The patient is too breathless to sit forward safely, so I would keep them upright, examine the accessible posterior and lateral lung fields without compromising them, and complete the remainder when clinically appropriate.”
How to prioritise under time pressure
Under time pressure, protect the parts of the examination that change clinical interpretation: recognise distress, measure the respiratory rate, compare both sides, assess chest expansion, percuss and auscultate the relevant anterior, lateral and posterior fields, then close and summarise. Do not save time by omitting the posterior bases or by claiming observations you did not perform.
If you find an abnormality, slow down enough to characterise it properly. Prioritise clinically meaningful signs over low-yield ritual: a coherent examination with good side-to-side comparison and interpretation is stronger than a hurried attempt to perform every traditional manoeuvre.
How to present your findings to the examiner
Your summary should not be a replay of everything you did. Give the important positives, relevant negatives and your interpretation.
For a normal examination:
“I examined this patient’s respiratory system. They appeared comfortable at rest with no evidence of respiratory distress. There was no peripheral or central cyanosis or finger clubbing. The trachea was central and chest expansion was symmetrical. Percussion was resonant throughout. On auscultation there was equal bilateral air entry with vesicular breath sounds and no added sounds. Overall, this was a normal respiratory examination.”
For an abnormal examination, lead with the pattern:
“The key findings were reduced expansion of the right lower chest, dullness to percussion and reduced breath sounds with reduced vocal resonance at the right base. Taken together, these findings would be consistent with a right-sided pleural effusion, although I would confirm the cause and extent with further assessment and imaging.”
Notice the language: “consistent with”, not “proves.” That is clinically more accurate.
What should you say to complete the examination?
Finish by thanking the patient, helping them return to a comfortable position, restoring their clothing or covering and cleaning your hands.
Then tell the examiner what you would do next.
A strong completion statement is:
“To complete my assessment, I would review the full set of observations, particularly oxygen saturation, respiratory rate, temperature and blood pressure. I would perform a cardiovascular examination where relevant and select further investigations according to the findings, such as a chest X-ray, ECG, blood tests, arterial blood gas if indicated, sputum testing, peak expiratory flow or spirometry, and further imaging where clinically appropriate.”
Do not recite every respiratory investigation you know. Choose investigations that follow logically from the patient’s presentation.
Common respiratory OSCE mistakes
The biggest errors are rarely obscure pieces of respiratory medicine. They are failures of sequence, technique or interpretation.
Students commonly forget to count the respiratory rate, listen only to the anterior chest, percuss over bone rather than intercostal spaces, fail to compare equivalent areas side to side, auscultate through clothing, ask the patient to breathe so rapidly that they become light-headed, or describe every abnormality without synthesising a pattern.
Another common problem is spending too long on traditional peripheral signs and then rushing the chest. In a short station, inspection, respiratory rate, chest expansion, percussion, auscultation and posterior examination are core tasks. Cricosternal distance, extensive JVP assessment, multiple voice-transmission tests and rarer peripheral signs can be useful, but they should not crowd out the examination of the lungs themselves.
Finally, never ignore an acutely unwell patient to complete your memorised checklist. Severe respiratory distress, hypoxia or suspected tension pneumothorax should trigger an appropriate urgent clinical response rather than a leisurely routine examination.
Respiratory examination marking checklist
Use this as a generic revision checklist rather than a substitute for your medical school’s mark scheme.
| Domain | Examiner-visible behaviour | Frequent lost mark |
|---|---|---|
| Preparation | Hand hygiene; introduction; identity; explanation; consent; pain | Touching the patient before consent |
| Position/exposure | Comfortable position; adequate exposure with dignity | Examining through clothing |
| General inspection | Recognises distress and oxygen/supports; counts respiratory rate | Saying “RR normal” without measuring |
| Peripheries | Hands/clubbing; pulse; face/central cyanosis; trachea | Spending so long on peripheral signs that the chest is rushed |
| Inspection/palpation | Scars/deformity/movement; expansion compared bilaterally | Placing hands without actually assessing excursion |
| Percussion | Intercostal technique; paired side-to-side comparison | Percussing one whole lung and then the other |
| Auscultation | Direct-to-skin; paired anterior/lateral/posterior fields | Forgetting the posterior lower lobes |
| Targeted tests | Vocal resonance or fremitus when it answers a clinical question | Performing every possible test regardless of findings |
| Patient care | Checks comfort; adapts to breathlessness or limited mobility; re-covers | Forcing position or prolonged deep breathing |
| Closure | Thanks patient; hand hygiene; concise summary and next steps | Stopping immediately after auscultation |
Surface anatomy: where are you actually listening?
Surface anatomy matters because the educational question is not simply “what do the lungs look like?” but “which lung region am I examining at this point on the chest?” [3,8,10]
Where are you actually listening?
- Remember that the lung apices extend above the clavicles on both the anterior and posterior chest.
- The upper lobes are accessible anteriorly and posteriorly; the right middle lobe and lingula are predominantly anterior/lateral; and a substantial proportion of the lower lobes lies posteriorly.
- Use the major (oblique) fissures and the right horizontal fissure as landmarks for understanding where the lobes project onto the chest wall.
- Choose paired percussion and auscultation sites so you can compare equivalent areas side to side.
- Do not forget the posterior bases.
For further surface-anatomy teaching, see Stanford Medicine 25, OpenStax, and the Wikimedia Commons “Surface projections of the organs of the trunk” reference image. [3,8,10]
Respiratory examination OSCE FAQ
What is the correct order for a respiratory examination?
A reliable sequence is: preparation and consent → general inspection and respiratory rate → hands and pulse → face and neck → chest inspection and palpation → percussion → auscultation → posterior/lateral chest → targeted additional tests → closure and summary.
Do I need to measure the respiratory rate?
Yes. Respiratory rate is a fundamental part of respiratory assessment and should not simply be guessed. In an OSCE, make the action visible enough for the examiner to recognise that you assessed it.
Do I need to examine both the front and back of the chest?
Yes, unless the station instructions or patient condition prevent it. A substantial proportion of the lower lobes is best assessed posteriorly, so an anterior-only examination can miss important basal findings.
How many places should I auscultate?
There is no universally correct number. Use enough paired positions to assess the upper, middle/lateral and lower lung fields bilaterally, including the posterior chest. Listen to corresponding areas side by side rather than completing one lung first.
Do I need both tactile vocal fremitus and vocal resonance?
Not necessarily. They assess related voice-transmission phenomena. You should know how to perform and interpret both because local teaching and mark schemes vary, but routinely performing both can duplicate information.
How do I remember consolidation versus effusion versus pneumothorax?
Start with percussion and sound transmission. Consolidation is dense lung: dull percussion but increased transmission, producing bronchial breathing or increased vocal resonance. Pleural effusion places fluid around the lung: dull or markedly dull percussion with reduced breath sounds and reduced vocal resonance. Pneumothorax places air in the pleural space: hyperresonance with reduced breath sounds and reduced vocal resonance.
What if the patient is already receiving oxygen?
Leave clinically required oxygen in place. Note the delivery device and flow or concentration where available, assess the patient while they are receiving it and interpret their oxygen saturation accordingly. Never compromise patient safety simply to create an artificial “baseline.”
What if the patient cannot sit forward?
Do not force them. Adapt the examination, assess whatever posterior or lateral lung fields are safely accessible, obtain help with repositioning if appropriate and explain to the examiner what you would ideally complete.
References
- Bickley LS, et al. Bates’ Guide to Physical Examination and History Taking. 14th ed. Wolters Kluwer. Bates’ accompanying visual curriculum integrates stepwise physical examination with OSCE-oriented clinical reasoning and communication.
- Dover AR, Innes JA, Fairhurst K. Macleod’s Clinical Examination. 15th ed. Elsevier; 2023.
- Stanford Medicine 25. Pulmonary Exam: Percussion & Inspection. Stanford University School of Medicine. Available online
- Drummond GB, et al. Current clinical methods of measurement of respiratory rate give imprecise values. ERJ Open Research. 2020;6(3):00023-2020.
- Kalantri S, Joshi R, Lokhande T, et al. Accuracy and reliability of physical signs in the diagnosis of pleural effusion. Respiratory Medicine. 2007;101(3):431-438.
- Benbassat J, Baumal R. Should teaching of the respiratory physical examination be restricted only to signs with proven reliability and validity? Journal of General Internal Medicine. 2010.
- O’Driscoll BR, Howard LS, Earis J, Mak V; British Thoracic Society Emergency Oxygen Guideline Group. BTS guideline for oxygen use in adults in healthcare and emergency settings. Thorax. 2017;72(Suppl 1):ii1-ii90.
- OpenStax. Anatomy and Normal Microbiota of the Respiratory Tract. OpenStax Microbiology. Available online
- Randall D, Booth J, Wiles K, editors. Kumar & Clark’s Clinical Medicine. 11th ed. Elsevier; 2025.
- Häggström M. Surface projections of the organs of the trunk. Wikimedia Commons. Public-domain source components; vector derivative available for adaptation. Available online
Final principle: examine like a clinician, not a checklist
A strong respiratory examination has a visible clinical logic: observe, compare, interpret, and adapt.
You first decide whether the patient is stable. Then you look for peripheral clues. Next you inspect and feel how the chest is moving. Percussion tells you about the density beneath the chest wall. Auscultation tells you about airflow and sound transmission. Finally, you combine those findings into a clinical pattern.
That is the difference between remembering a respiratory examination and understanding one.
Practise the sequence until you no longer need to consciously remember what comes next. Then use that mental space to notice asymmetry, recognise abnormal sounds, protect the patient’s comfort and explain what your findings mean.
And remember: reading the sequence is only the first stage. A respiratory examination is a performance skill. Practise it aloud, on a real or simulated patient, under a timer, and finish every attempt by presenting your findings as if an examiner had just asked:
“Please summarise your examination and tell me what you think is going on.”